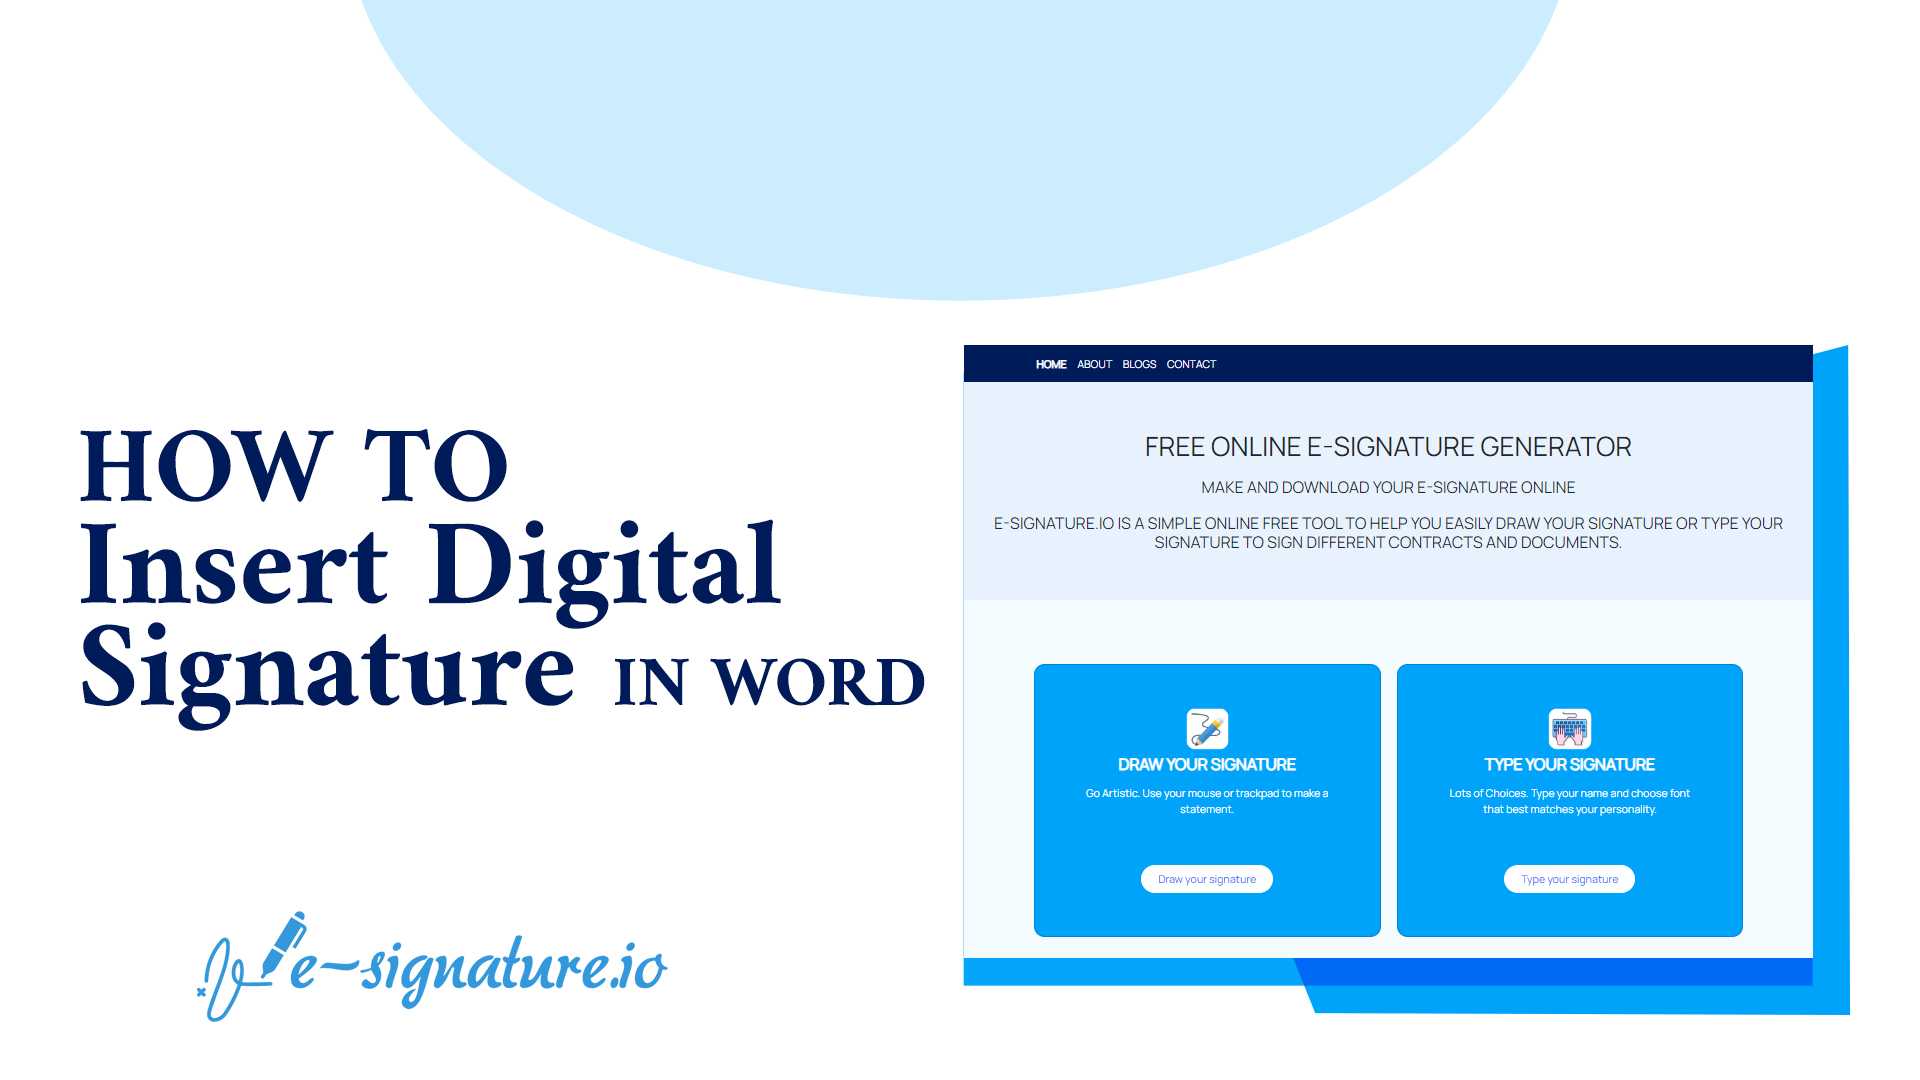
How to Insert Digital Signature in Word
In today's world of digital communication, a signature is one of the most crucial aspects of any document. It is an important mark of authenticity that confirms that the document has been verified and approved by its rightful owner. With the advent of digital signatures, it has become even easier to verify documents without the need for physical signatures. In this article, we will discuss how to insert a digital signature in Word, one of the most popular word processing applications.
Understanding Digital Signatures
Before we delve into the process of inserting a digital signature, it is important to understand what it is and how it works. A digital signature is a unique electronic identifier that is used to confirm the authenticity of a digital document. It is created using encryption technology and is based on a combination of the signer's private key and a mathematical algorithm. Once a digital signature is applied to a document, it is virtually impossible to alter the document without invalidating the signature.
Creating a Digital Signature
To create a digital signature, you will need a digital certificate. A digital certificate is an electronic document that contains information about the signer's identity, such as their name and email address. It also contains a public key that is used to verify the digital signature. Digital certificates are issued by trusted third-party authorities known as Certificate Authorities (CAs).
- Obtain a digital certificate from a trusted CA.
- Open the document you wish to sign in Microsoft Word.
- Click on the "Insert" tab and select "Signature Line" from the drop-down menu.
- A dialog box will appear, prompting you to fill in your details. Enter your name and email address in the appropriate fields.
- Check the "Allow the signer to add comments in the Sign dialog box" box if you want to give the signer the option to add comments when signing the document.
- Click "OK" to insert the signature line into the document.
Adding a Digital Signature to a Document
Once you have created a digital signature, you can add it to any document you wish to sign.
- Open the document you wish to sign in Microsoft Word.
- Click on the signature line to open the Sign dialog box.
- Select the digital signature you wish to use from the list of available signatures.
- If the signature is password-protected, enter the password when prompted.
- Click "Sign" to apply the digital signature to the document.
Verifying a Digital Signature
Once a digital signature has been applied to a document, it can be verified to ensure its authenticity.
- Open the signed document in Microsoft Word.
- Click on the signature line to open the Sign dialog box.
- Click on "Signature Details" to view information about the signature.
- Verify that the signer's name and email address match the details in the digital certificate.
- Verify that the digital certificate has not expired or been revoked.
- Verify that the document has not been altered since the signature was applied.